With my Masters term passing the half way mark I thought it was about time I shared a closer look at the layouts that made it possible for me to win the Masters title :) Chances are you might have already seen my layouts in a copy of Scrapbooking Memories magazine, but I wanted to share a little bit about each page along with some close up views of my favourite details.
The first challenge required an engaging 5 x 7" photo and I knew that this would be the perfect one!
The hand stitched background is my absolute favourite part of the page design, and was well worth the time it took to create it. I drew out a template onto graph paper, then taped it to the page so that I could poke through each stitching mark before stitching the deign onto the page.
This might still be one of my all time favourite layouts, and I love the way my little guy is peeking out from behind the wall and how it provided the perfect space to add my title.
The warm tones were inspired by the plush toys my son was holding in the photo and the little house die-cut helped me to select the rest of the colours. I used lots of layers and positioned the heart paper so that a little heart would peek out from behind each hole in the the teal die-cut.
Challenge two was to create a layout that featured at least 3 photos and this was one of those pages where a happy accident turned into an opportunity that changed the entire direction of the page.
My layout started off in a completely different way, but while shuffling through supplies a polaroid frame happened to land on top of one of my pics and there was something about the way it framed the photo that made me change up my whole design.
I took apart the page I had started and found a mix of frames to help me create the new layout and really like the variety of sizes and styles of each frame and the way they helped to highlight our summer happy snaps.
I used some of the original papers beneath the frames and added lots of small embellishments over each frame. I framed the journaling too and used vellum for extra dimension.
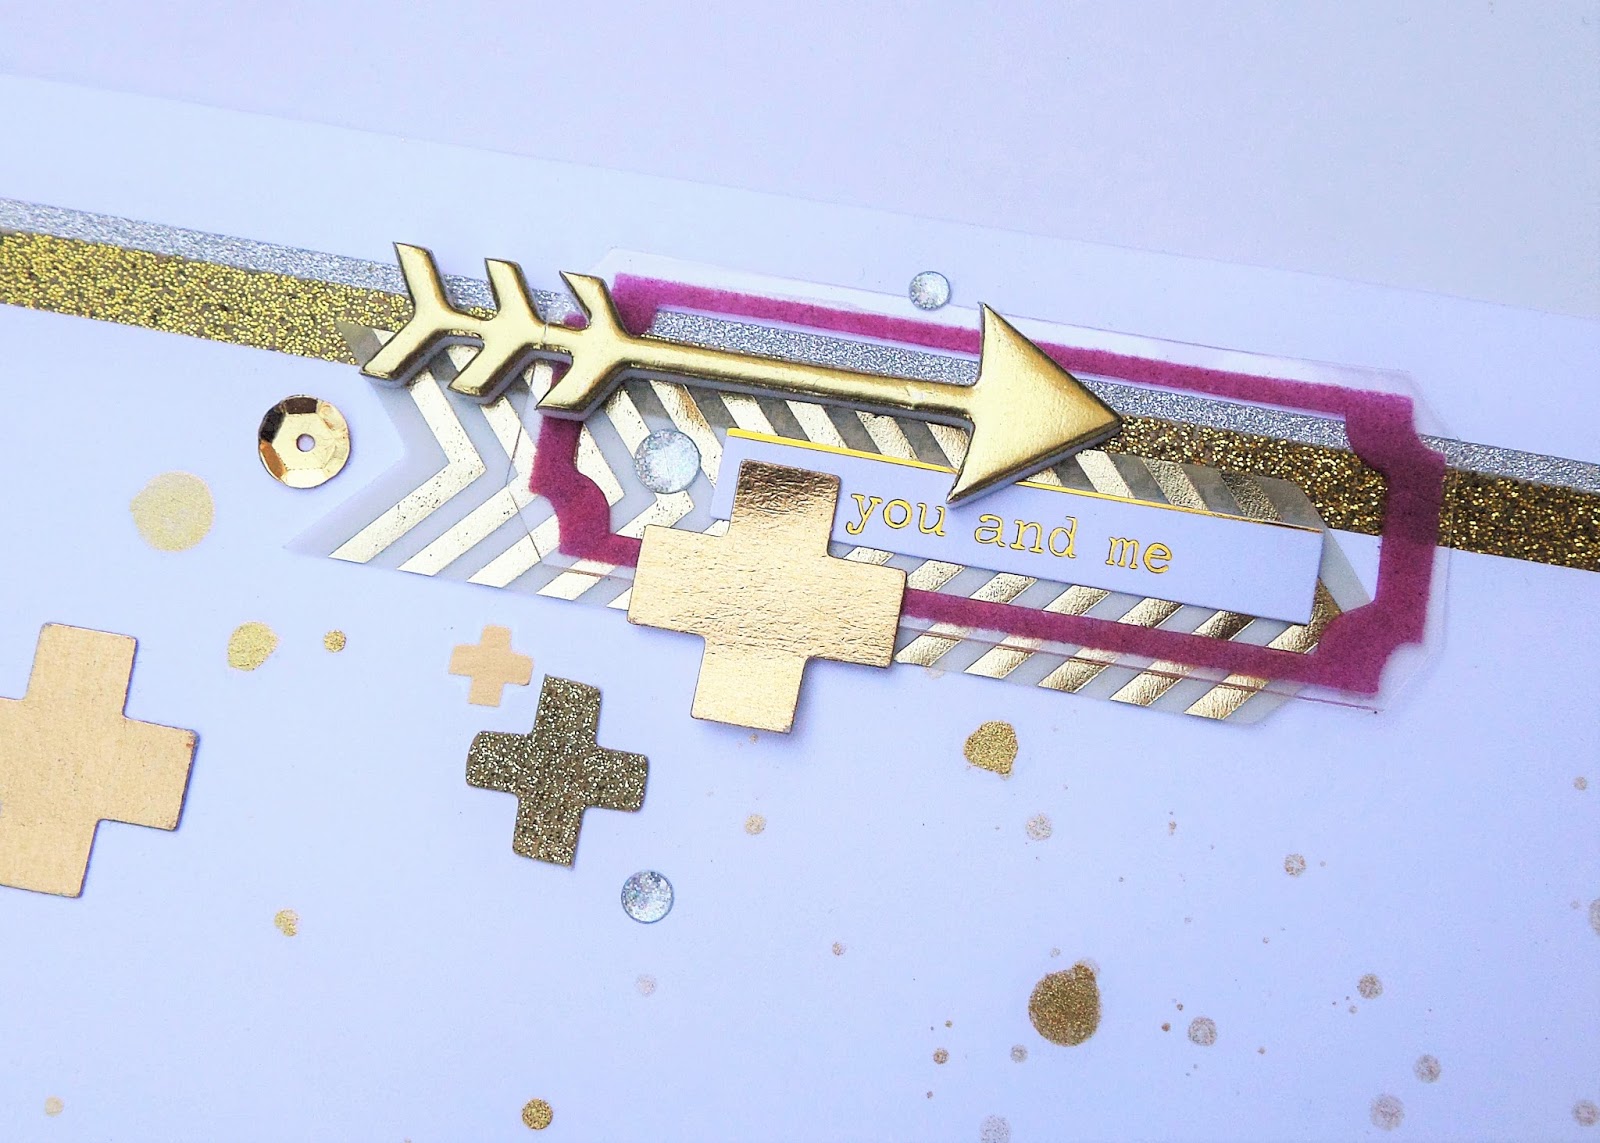
Challenge three was to incorporate bling, and boy did I bling it ;) I used a mix of sparkly glitter and shiny gold foiled papers and embellishments on a simple white background for this cute pic of my little guy with one of our baby lizards.
I am learning to embrace pink on my boy pages and like the way the bright pops of colour break up the gold and help to draw the eye to the photo.
Besides the photo, my favourite detail is the little mason jar accent which I took apart so that I could print my journaling onto the background before filling it up with a scatter of sparkly sequins and stitching it back together with metallic gold thread.
I like to mix textures in my embellishment clusters, and used soft vellum and gold foiled transparency with shiny enamel and glittered foam pieces.
The final challenge was to use a budget saving technique, and I decided to use some of my paper scraps that I cut into simple triangle shapes along with a mix of leftover alphas to repeat 'XO' around the page.
I wanted to page to have a light airy feel to it and selected paper scraps in soft tones that would work with the watercolour background.
I deliberately chose papers with small patterns that wouldn't be overwhelming when layered next to each other on the page.
I continued the triangle theme with some simple stamping, and scattered repeated the 'XO' title around the page using a variety of left over alphabet stickers from my stash.
It has been a great year so far with lots of interesting challenges that have often pushed me out of my comfort zone, and I will be sure to share the rest of the layouts I have created using a range of different products from all the sponsors.
Thanks for stopping by xx